Quick Start — Create Your First Dialogue
Build a minimal text-only dialogue with two speakers and a widget. The steps below follow the plugin’s included Docs/getting-started.md and the UMG/Dialogue Component API. The example names are suggestions, not built-in sample assets.
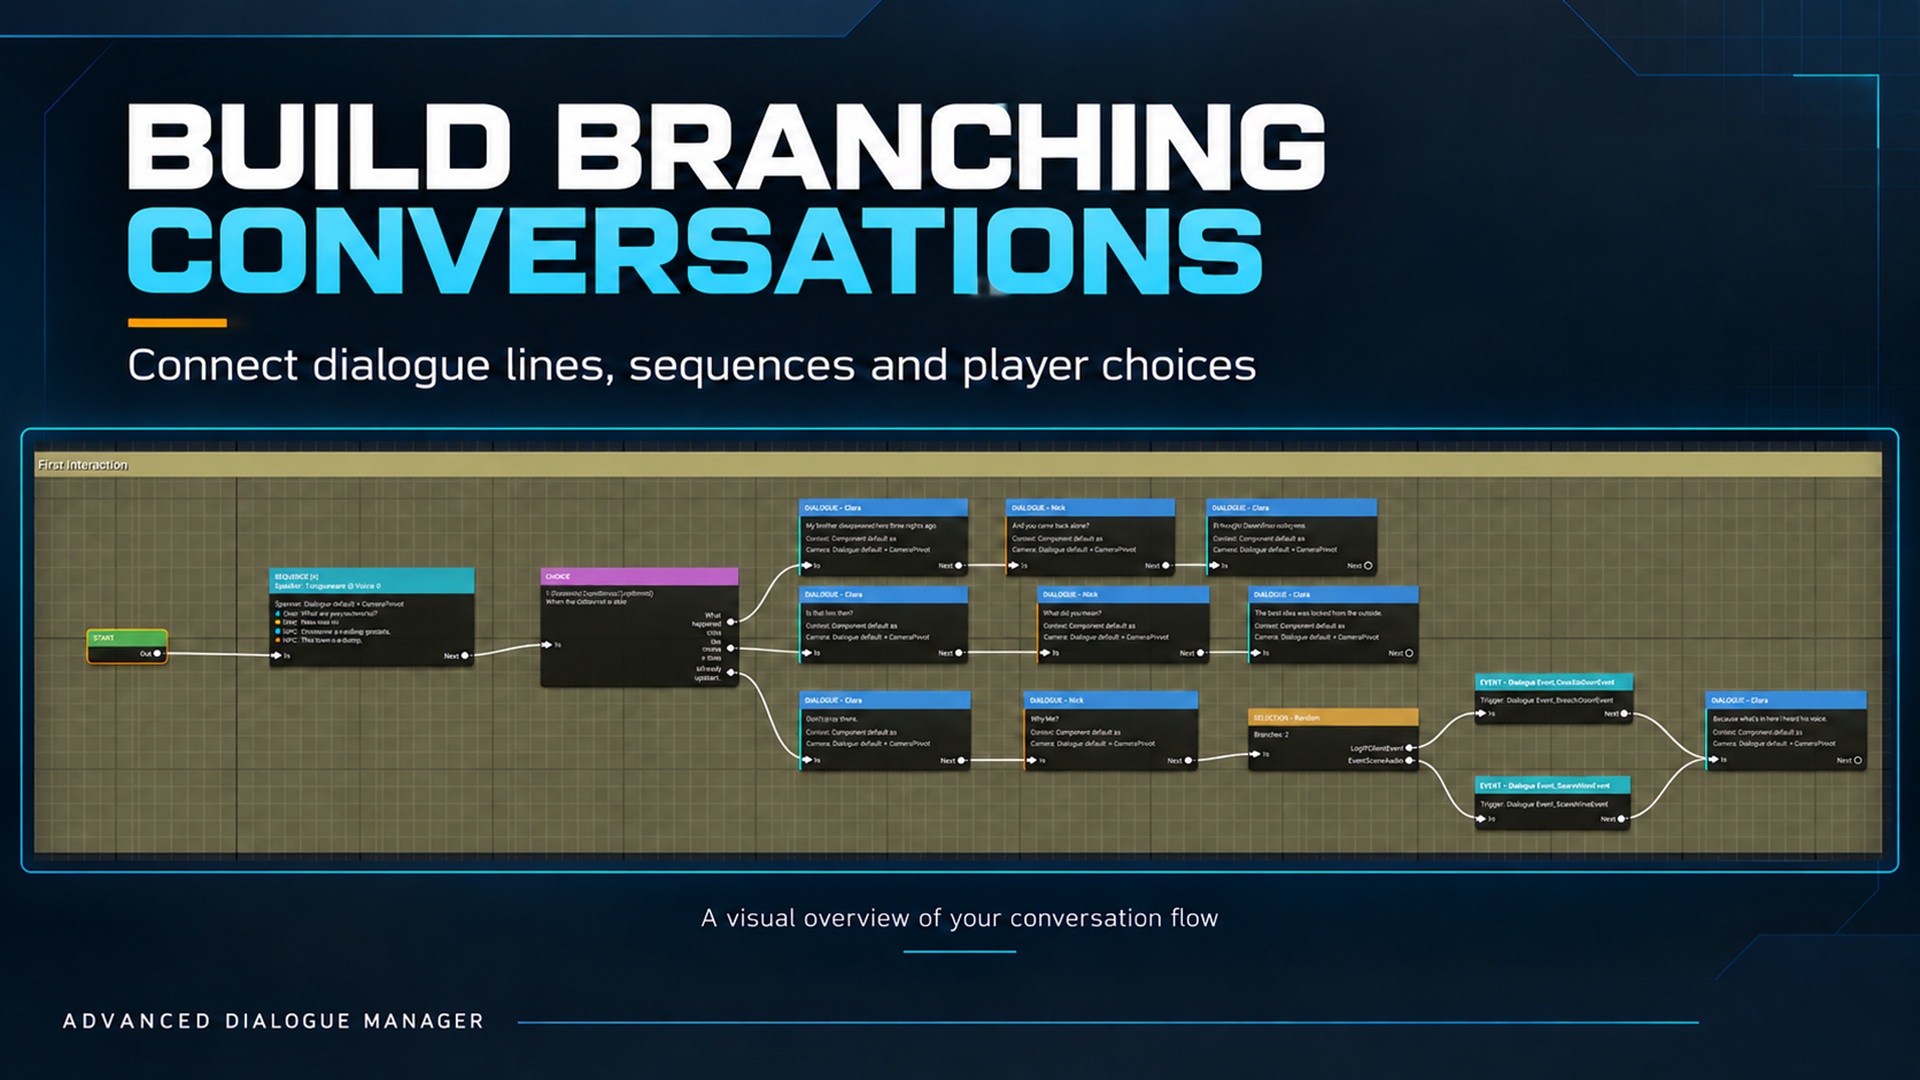
Installation and your first dialogue. Supplied product gallery image; any captions/overlays are promotional, not interactive controls.
Step 1 — Install
Section titled “Step 1 — Install”Place the plugin folder containing AdvancedDialogueManager.uplugin under your project’s Plugins folder. Enable Advanced Dialogue Manager in the editor’s Plugins window and restart if requested. For a source distribution, compile the project for your chosen engine version with its required C++ toolchain.
Use the version compatibility statement supplied with the release you purchased. A successful editor compilation alone does not establish packaging compatibility.
Included example Gameplay Tags
Section titled “Included example Gameplay Tags”The plugin automatically loads Config/Tags/AdvancedDialogueExamplesTags.ini at runtime startup. It supplies Dialogue.Speaker.Clara, Dialogue.Speaker.Nick, the Dialogue.Expression.Good, Sad and Scared expressions, and Dialogue.Event.KnockKnockEvent / ScreamVoiceEvent. You do not need to recreate these tags in Project Settings. The tag source is included in plugin packaging and staged for packaged games.
The example tag source also includes Dialogue.Entry.ClaraFollowUp, used for repeat interactions. The authored Clara/Nick demo assets are supplied separately under Content/Demo; see Play the included demo. Tag definitions alone do not create assets or implement event actions. Other speakers, variables and gameplay events still need their own tag definitions. Keep custom project tags in your project’s configuration so plugin updates do not overwrite them. Participant and internal Automation tags are not part of the example source.
When migrating an older demo, save assets with the current event names before distribution: historical project redirects such as FlickerEvent/FlickerLightEvent are not included in this source. Validate the migrated demo in a fresh project and a packaged executable.
Step 2 — Create two speakers
Section titled “Step 2 — Create two speakers”In the Content Browser, open your destination folder, right-click an empty area and choose Advanced Dialogue Manager → Speaker. Name the asset SP_Anna. Repeat for SP_Player, then double-click each asset to edit it. Set Display Name to Anna and Player. Create and assign tags Dialogue.Speaker.Anna and Dialogue.Speaker.Player through Gameplay Tags management.
Where to create each asset
Section titled “Where to create each asset”| Asset | Content Browser creation path | Example name |
|---|---|---|
| Dialogue | Right-click → Advanced Dialogue Manager → Dialogue | DA_AnnaHouse |
| Speaker | Right-click → Advanced Dialogue Manager → Speaker | SP_Anna |
| Variable Schema | Right-click → Advanced Dialogue Manager → Variable Schema | VS_AnnaHouse |
| Camera Preset | Right-click → Advanced Dialogue Manager → Camera Preset | CP_AnnaCloseUp |
Camera Presets are created in the same submenu as Dialogue, Speaker and Variable Schema. Widget Blueprints are created separately, with the parent classes described below. The Dialogue Component is added to an Actor Blueprint rather than created as a Content Browser asset.
If Advanced Dialogue Manager is absent from the menu, check that the plugin is enabled and its editor module compiled/loaded successfully, then restart the editor if required.
Portrait and Speaker Color are optional presentation settings. For this first text-only conversation, leave Link to a Character in the Game disabled. You do not need Actor mapping just to display a name and portrait.
Step 3 — Create and connect dialogue nodes
Section titled “Step 3 — Create and connect dialogue nodes”Right-click in the Content Browser and choose Advanced Dialogue Manager → Dialogue. Name it DA_AnnaHouse and double-click it to open the graph editor. Add two Dialogue Line nodes and an End node:
START → Anna: "Wait… did you hear that?" → Player: "Hear what?" → ENDAssign each line its Speaker Asset. Connect flow pins and save. Keep the default Manual continuation for the first test.
Step 4 — Create the UI
Section titled “Step 4 — Create the UI”Create WBP_AnnaDialogue derived from AdvancedDialogueWidgetBase. Add:
- Text Block named
SpeakerNameText. - Text Block named
DialogueLineText. - Button named
ContinueButton.
Names and widget types must match exactly. Enable Is Variable on the designer controls where needed.
For choices, create WBP_AnnaChoice derived from AdvancedDialogueChoiceWidgetBase with a Button named ChoiceButton containing a Text Block named ChoiceText. In the main widget add a Vertical Box named ChoicesPanel and assign Choice Widget Class to WBP_AnnaChoice.
These are the two widget classes you normally derive. See UI details.
Step 5 — Start the dialogue from gameplay
Section titled “Step 5 — Start the dialogue from gameplay”Add an Advanced Dialogue Component to the Actor that owns the conversation. In Blueprint, keep references to that component and the created main widget.
Create Widget (WBP_AnnaDialogue, Owning Player)→ Set Dialogue Component on the widget→ Add to Viewport→ configure your game's input mode and focus→ Start Dialogue on the component (DA_AnnaHouse)Bind presentation before Start Dialogue: the first line may be emitted immediately. The component does not automatically create your UI or take over player input.
Route your confirm input to Confirm Dialogue Input on the main widget. Do not also call Continue Dialogue for the same button press. The bound ContinueButton already uses widget confirmation.
Step 6 — Run and verify
Section titled “Step 6 — Run and verify”Anna’s line should appear first. Confirm advances to the player line, then ends the conversation. The default widget can collapse when dialogue ends; your game must restore any input mode or movement restrictions it changed.
If nothing appears, check the troubleshooting table before adding camera or voice.
What you have built
Section titled “What you have built”You have a graph with START, two speaker lines and END, and a UMG widget bound before Start Dialogue. The first confirmation displays the next line; the following one completes the conversation when allowed by the current continuation policy.
Next: Add a choice, configure the UI, then react to an Event.